It's been too long! I do apologise! I have had severe bloggers block but I have a couple posts planned for Halloween.
Recently I did a post about an
Alice in Wonderland tea party I had and I thought I would do a DIY post on the Tim Burton style Mad Hatter hat which I wore. This is actually quite simple and everything that I used were things I found in my house, I didn't need to purchase anything. This is a great look for a Halloween party or it could be used as a prop or decoration.
I have another post to come on the makeup and outfit for anyone that wants to do the full thing. Here is how to make the hat in 12 easy steps:
Items used:
Strong Cardboard (I used the bases of two cardboard boxes)
Paper
Cellotape
Staple gun or glue gun
Black or patterned fabric
Other fabric for inside and band
Wooden skewers
Cocktail sticks
Beads
Paper Mache + newspaper strips
Steps:
1. Create a circle for a base that fits your head using one or more pieces of strong cardboard. (I stupidly made it a bit small so it doesn't actually fit around my head, only sits on top)
2. Make the bottom band where the bright fabric strip goes. Attach to the base with cellotape or masking tape.
3. Attach 6 or 7 wooden skewers to the band. I stuck them into the cardboard and used tape to secure them in place.
4. Place a circle of cardboard, a similar size to the base on top of the skewers. Bring the skewers to the outside of the circle so that they bend a little, giving the frame of the hat. Push the circle down a little so it would stay in place and secure it to the skewers with tape. Make sure the top is flat.
5. Cover the sides with paper to form the shape.
6. Use paper mache over the paper and the board. The end of the skewers prove very handy as you can do the bottom of the hat without the paper mache touching the table.
7. Once you have done a layer or two (one will do, it's quite sturdy by itself with the frame) leave it to dry.
8. Cut off the top of the skewers that are sticking out.
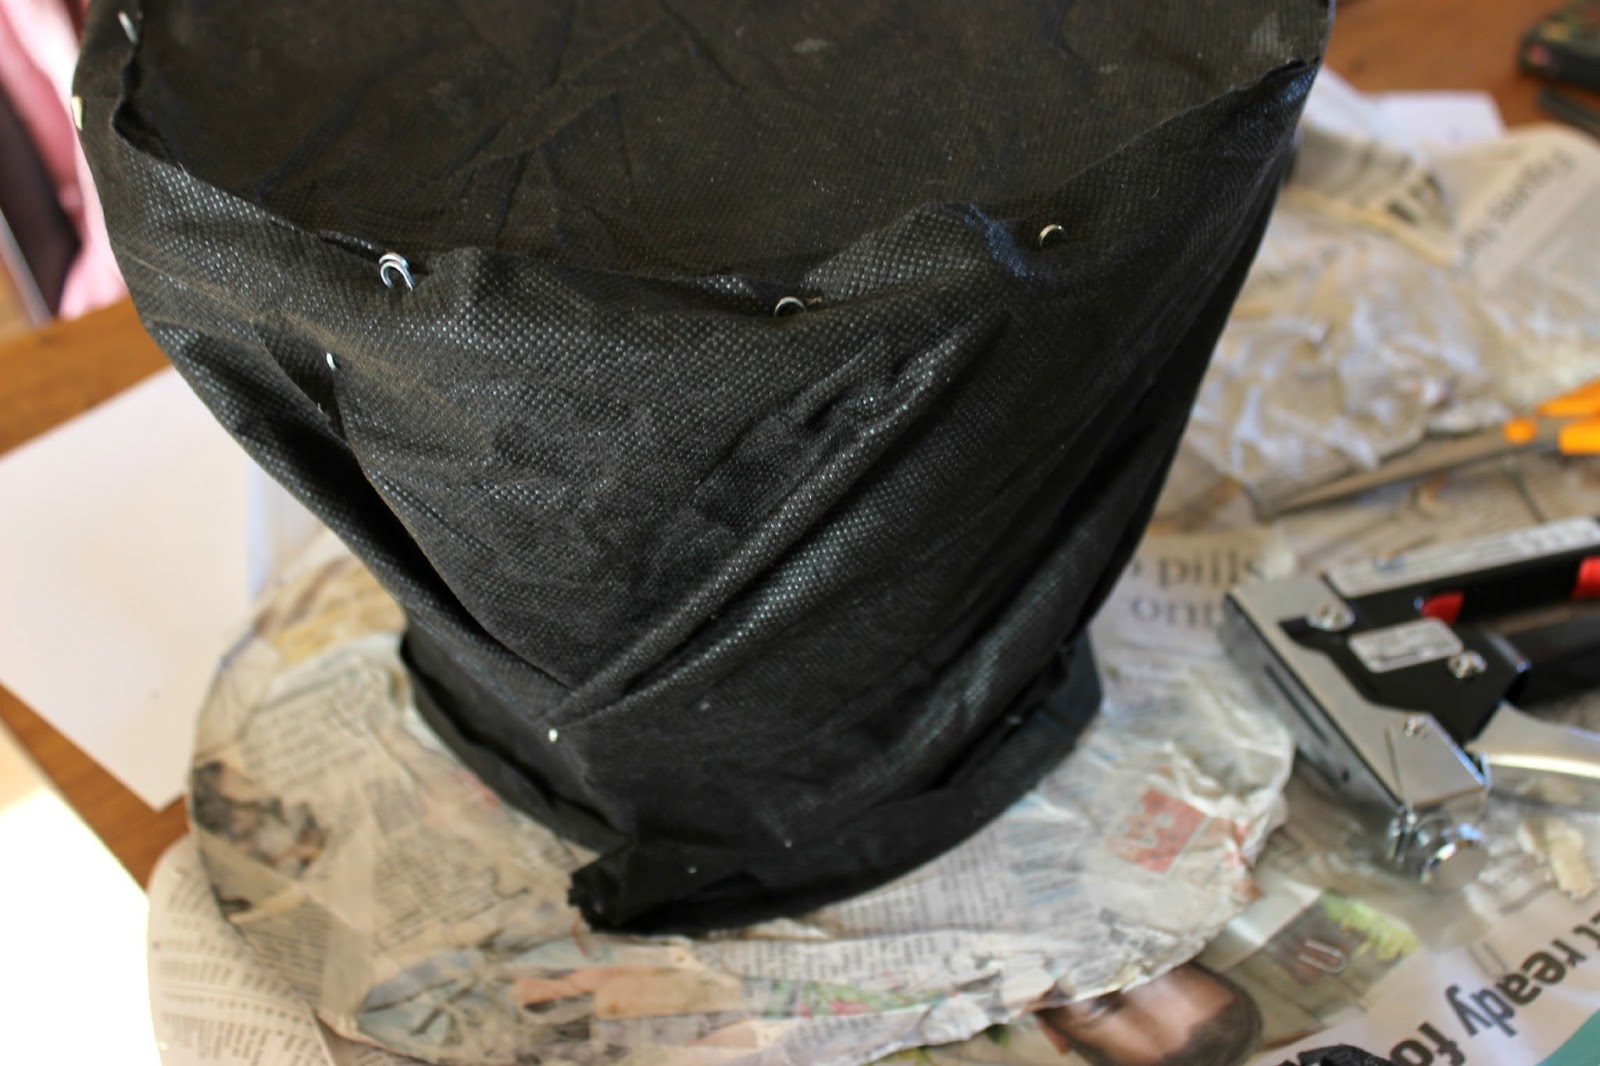
9. Depending on what kind of fabric you are using, cover the hat by sticking it in place with glue or staples. I used a staple gun with mine as PVA glue wasn't strong enough and a glue gun went straight through the fabric. The staples do look a little messy but I tucked in what I could under other sections on the fabric.
Make sure you cover the whole bottom of the hat as you will see underneath it when worn.
10. Use another kind of fabric for the inside. No need to line the whole inside, just a kind of bubble in the centre.
11. Create a band of bright material around the outside of the hat. I used the same red material although I ended up putting a scarf around it as it gave a better effect.
12. Decorate the hat with the traditional 10/6 note which i made by drawing it onto some card and burning the edges to make it look old. Add any other decorations such as feathers or pins which I made from cocktail sticks and beads.
I hope you enjoyed this post. I haven't done a DIY in a while so I might get back into doing them. I hope this has given you some interesting Halloween ideas.
Étáin
xxx